Getting passed in the same spot, over and over. That’s your guard telling you something. Your BJJ guard — the position where you’re on your back controlling your opponent with your legs — gets better through one thing above all: moving your hips. These five drills build the pattern your hips need, in the right order.
- Hip movement beats arm strength every time — shrimp five minutes a day and your guard retention changes.
- Pick one guard and drill it until it’s automatic before adding a second system to your game.
- The right gi matters for this — a mid-weight pearl weave lets you feel grips and pressure clearly, so you catch mistakes early.
Why Your Guard Keeps Getting Passed
Here’s what nobody tells beginners: your guard gets passed because your hips stop moving before your opponent runs out of ideas. It’s not about knowing more sweeps. It’s not about having longer legs. It’s about keeping your hips active until they’ve burned through every option they have.
The frustration is real. You set your guard, your training partner grabs a sleeve, steps around your knee — and suddenly you’re flat on the bottom again. That’s not a technique problem. That’s a hip-freeze problem.
Wrestlers know this better than most beginners in BJJ do. In wrestling, you never lie flat — you build a base under pressure. That same instinct saves your guard. When pressure comes, your first move is always to shrimp and rebuild the angle, not to fight the pass directly with your arms. Arms react; hips solve. Here’s the part nobody says: a beginner who shrimps automatically is harder to pass than an advanced athlete who freezes.
Guard Types — Pick One and Own It
Don’t spread yourself across every guard type at once. Pick one to own first. This table cuts through the confusion so you can choose and commit:
| Guard Type | Best For | Core Movement | Key Drill |
|---|---|---|---|
| Closed Guard | Beginners — control and patience | Hip raise + grip break + angle | Break grip, shrimp, reset × 10 |
| Half Guard | Beginners to intermediate | Knee shield + underhook drive | Underhook sweep entry × 5 each side |
| Butterfly Guard | Intermediate — active players | Leg elevate + seat-belt control | Butterfly lift drill × 10 |
| Open Guard | Intermediate to advanced | Hip angle + frame recovery | Guard retention flow rounds × 3 min |
New to BJJ? Start with closed guard and half guard. They build the hip mechanics and frame awareness that make every other guard work. You’ll see why once you try them.
The Stylso Guard Stack: 5 Drills to Build Real Guard
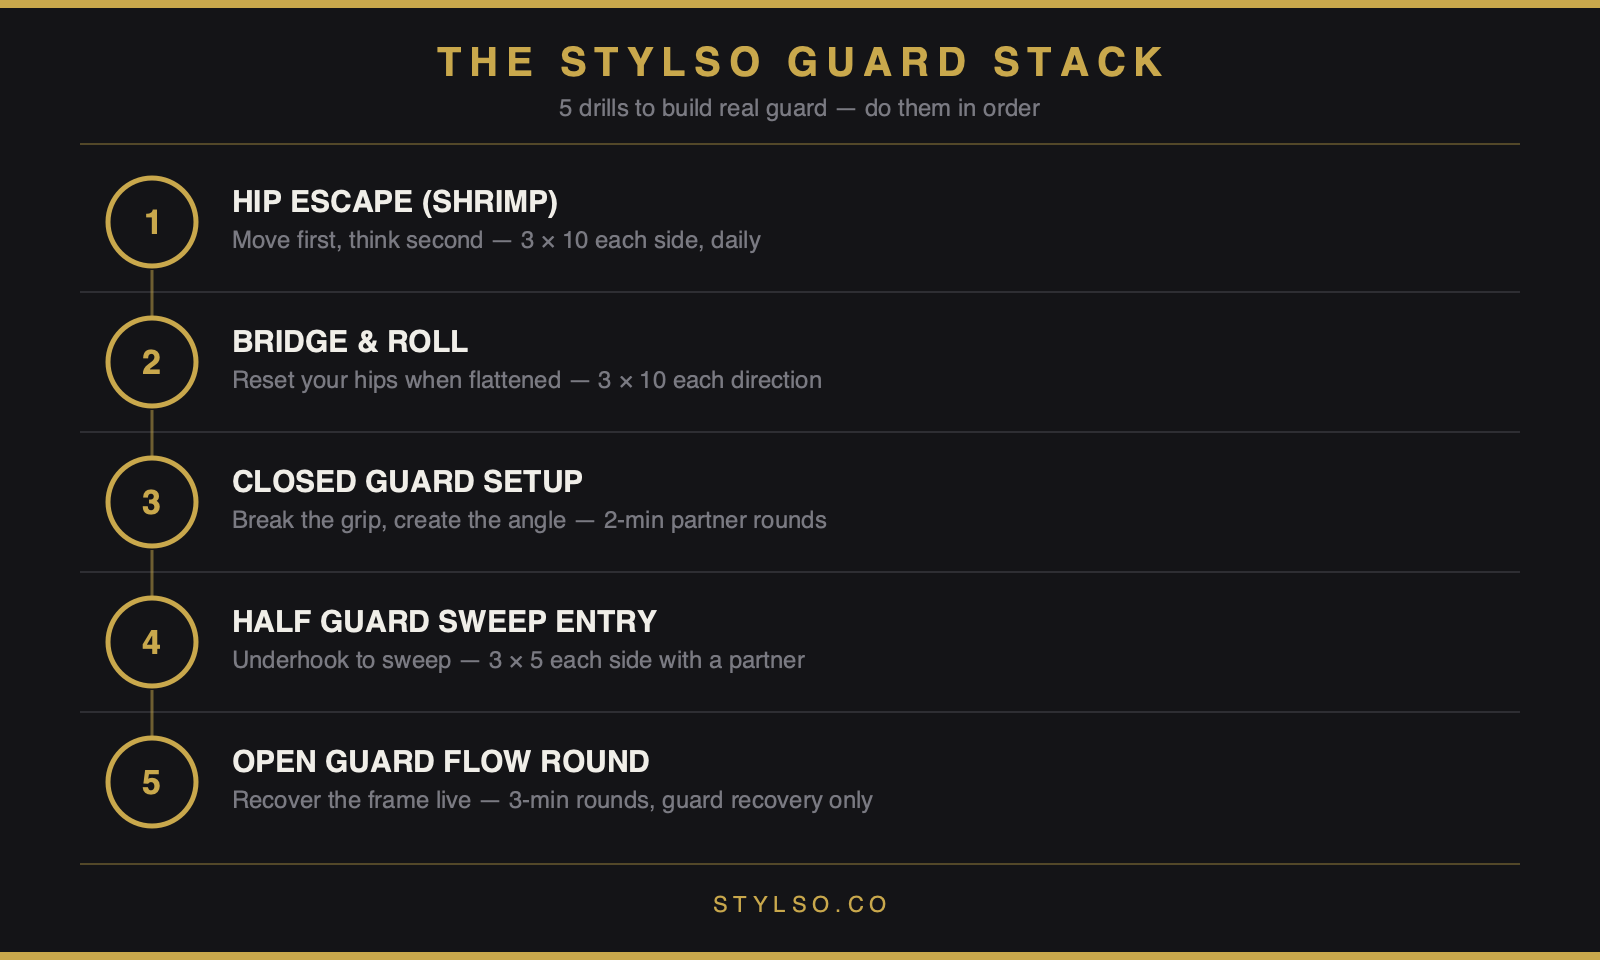
These five drills go in order. Don’t skip ahead. Each one builds on the last, and together they give you a foundation your guard can stand on for years.
- Hip Escape (Shrimp)
Start on your back. Drive one heel into the mat, swing your hips away, and make space. Repeat on the other side. Do 3 sets of 10 — slow and deliberate first. This is the most important solo drill in BJJ. If your shrimp is automatic, your guard retention becomes automatic. No partner needed; do it at home, before class, after class — it doesn’t matter when, just do it daily. - Bridge and Roll
When someone stacks your guard or pins your hips flat, the bridge resets them. Lie on your back, feet flat, drive your hips up and explode to one side. 3 × 10 each direction. These first two drills are the backbone of any solid solo drilling routine — no partner, no excuses. Master both before you add anything else. - Closed Guard Break Setup
With a partner: control their posture, break their grip on one side, create the off-angle. Don’t scramble for the submission immediately — just get the angle right and reset. 2-minute rounds. This wires in patience, which is the skill beginners lose first under pressure. Your hips drive the angle; your arms just frame and create the break. - Half Guard Underhook Sweep Entry
Get the underhook from half guard, drive your near-side knee past their hip, complete the sweep. 3 × 5 each side. You’ll miss plenty at first — that’s fine. You’re building the motor pattern, not chasing the finish. Half guard is one of the most reliable guards in live rolling because you’re close to your opponent’s center of gravity, and small hip movements create big openings. - Open Guard Flow Round
Partner tries to pass. Your only job: recover your guard frame — not submit them. Use your shrimp, bridge, and hip angle to rebuild position every time they advance. 3-minute rounds. This is where the first four drills become a real guard. You’re not thinking anymore — your hips just move. That’s the goal.
Want to get better at BJJ faster across every part of your game? The same principle applies everywhere: deliberate drilling beats random sparring, every time. Guard is just the clearest example of where that shows up.
Your Gi Matters More Than You Think for Guard Work
This isn’t a sales pitch — it’s a real training note. A mid-weight gi (around 350–450 gsm pearl weave) gives you accurate grip feedback during closed guard and half guard work. Too heavy and the fabric bunches when you shrimp; too light and grips don’t feel realistic. Either extreme hides mistakes your technique should be catching.
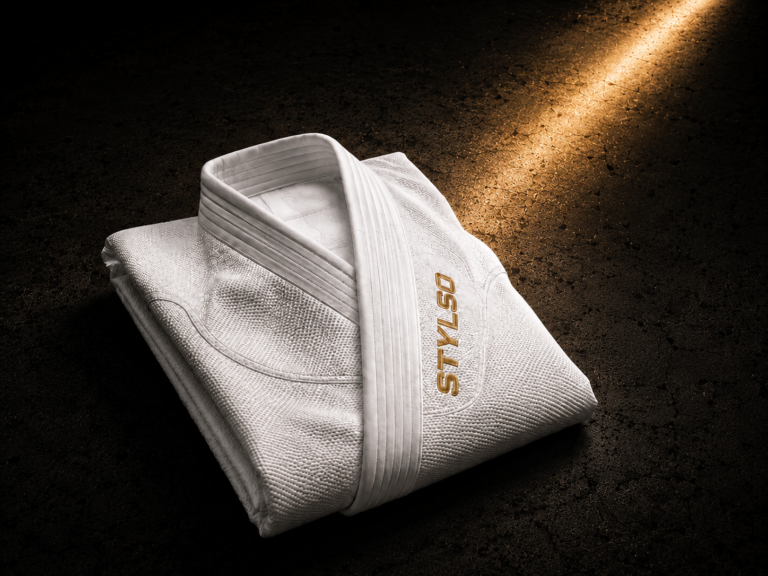
For guard drilling, you want a gi that moves cleanly with you. The Stylso gi is pearl weave, pre-shrunk, and IBJJF-approved — built for exactly this kind of consistent mat work. It’s the gear we train in, and it’s the honest pick for anyone building their guard from the ground up. Check the current price on Amazon.
If you’re still figuring out which gi fits your budget and style, check the full guide to the best BJJ gis for beginners — it covers fit, weave, and what actually matters at the white belt stage.
Free: BJJ Guard Progress Checklist
A printable one-pager — the Stylso Guard Stack in drill order, a 4-week plan, and a training journal to track every session. Get it free.
Frequently Asked Questions
How long does it take to develop a good BJJ guard?
Expect 3–6 months of consistent drilling before one guard type starts to feel reliable in live rolling — and about a year before it holds up against experienced training partners. The drilling you do now is what shortens that timeline. More mat time helps, but focused drilling helps more.
Should beginners start with closed guard or open guard?
Start with closed guard. It’s more forgiving, it teaches grip and posture control, and the hip mechanics you build there carry directly into every other guard. Once your closed guard hip escapes and break setups are automatic, half guard comes naturally. Open guard is next.
Can I improve my guard without a training partner?
Yes — for the foundation. Shrimping and bridging are solo drills that directly build your guard game. Five to ten minutes a day before or after class makes a real difference over six months. You still need partner rounds to build timing and pressure awareness, but the solo work is where the movement patterns get set.
Does the gi I wear affect my guard training?
It does. A well-fitted, mid-weight gi gives you real grip feedback and lets you move your hips freely. A gi that’s too heavy bunches when you shrimp, and one that’s too tight limits your hip range of motion in half and butterfly guard. Fit and fabric weight both matter — measure once before you buy.
What’s the most common mistake beginners make with guard?
Going flat. The second your hips flatten to the mat, your guard is done — your opponent has the angle and the weight. The reflex to build first is: when pressure comes, shrimp immediately. Not when it’s already too late, but the moment you feel the pass starting. That single habit changes your guard faster than any new technique.
How often should I drill guard techniques?
Daily for the solo movements — shrimping and bridging cost nothing and compound fast. Partner drills two or three times a week is enough; quality beats volume. Five focused reps beat fifty lazy ones. Track what you’re drilling in the Guard Stack checklist so you don’t keep repeating step one and skipping steps three through five.